I had originally decided upon the presentation of my two themes final images by arranging them onto a A3 size format within Photoshop and just simply print off within the collage . After some forethought as having to present two themes I changed my mind about my landscape pictures presentation. I searched on the Internet for some inspiration and after looking on several websites for example Jessops and proaminaging.com I decided upon using the Boots website because of it's ease to use and it's wide range of formats to choose from . I had tried to upload my pictures onto a photo book but it required me to have 30 pictures so wouldn't allow my to do this . After a little thought and looking around on the Boots site I then realised that with having twelve images this would be ideal for a calender. I then just had to decide on which layout. The Boots website gives a multitude of choices of themes and layouts and is very easy and navigate. With my images being in different sizes I at first struggled to find a format to fit them in but after after a little while I was able to upload them into a collage easily in a format which I found suitable.
Below is the final images all put on a A3 format within photoshop which I was very pleased with but then went onto to present them in a printed manner.
I have now received my calender collage from Boots and I am fairly pleased with it,the cost seemed fair at £20.98 , this included postage and the delivery time was excellent only taking 2 working days. The only slight disappointment was that the images were slightly darker then I anticipated, the Boots program had cropped some of the images and I felt that it would have been better produced on lustre paper rather then the gloss which was used. I will bring my collage to college for Steve to see and review. With signing up as a customer with Boots I was also given up to 40 free prints to use so will be able to get prints of all my images from both themes which I will order and will also bring to college. Below is a screen grab from the Boots website showing some of the uploaded pictures . Also showing directly below is a screen grab of a very good editing programme on the Boots site called "picnik" this has quite advanced tool which allows many adjustments for example , cloning , curves and sharpening there's also all the basic tools like exposure and cropping.


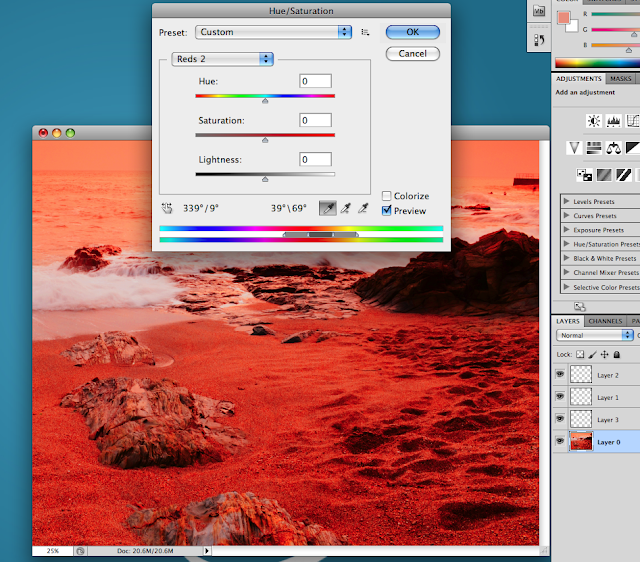
 Here I have cropped the picture than adjusted the amount brightness/contrast then lastly Hue / Saturation was adjusted . With the contrast to the maximum and the reds adjusted this has given this image a real feeling of being taken on another planet!!


